

Surgical Loupes · Ergonomics and health
Surgical Loupes for Oral Surgery: When to Add Headlight Illumination
A guide to assess when surgical loupes for oral surgery need headlight illumination and how to choose a coherent configuration of magnification, light and frame.
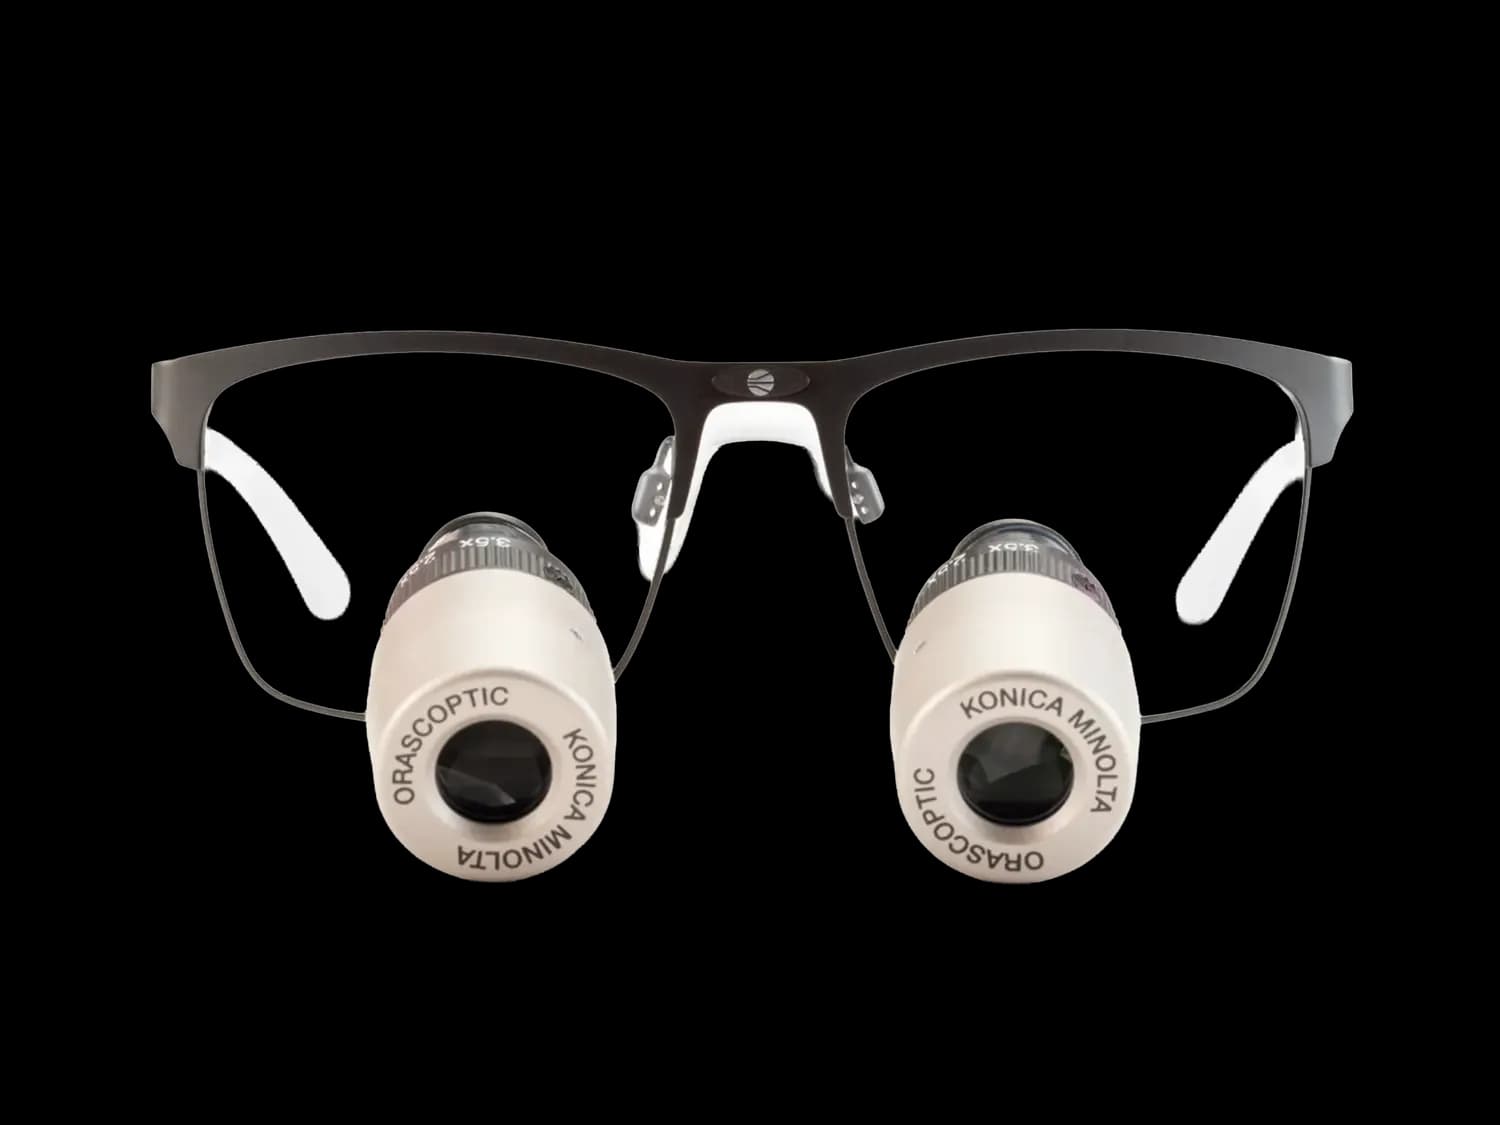
Surgical loupes for oral surgery may require headlight illumination when magnification does not provide enough contrast, access is deep, or ambient light is blocked by the clinician’s position, the instruments or the anatomy of the surgical field.
Surgical loupes for oral surgery: signs that magnification is not enough
In oral surgery, increasing the image does not always mean seeing better. Magnification helps distinguish fine details, but it requires adequate illumination for those details to have contrast, depth and definition. When light does not reach the visual axis coaxially, shadows can appear and reduce the usefulness of the magnification.
One early sign is the need to reposition the head or torso to “find the light”. If the clinician changes posture to compensate for shadows, the problem is not only visibility: it also affects ergonomics during prolonged procedures.
Another common sign is loss of contrast in posterior areas, deep cavities or narrow access points. In these scenarios, the light from the dental operatory or surgical equipment may not coincide with the line of sight of the loupes. The result is an enlarged image, but with shadows exactly where visual precision is needed.
It is also worth considering a headlight when the team alternates between direct and indirect vision. Light integrated into the working axis helps maintain a more stable visual reference when changing angles, especially when using mirrors or retractors.
In practice, the question is not whether the loupes “have enough magnification”, but whether the combination of magnification, field of view, depth of focus and light allows work without postural or visual compensation.
To review magnification options, you can consult the section on available surgical loupes for professionals. If the issue is lighting, the category of headlights for loupes allows you to compare specific configurations.
How visualization changes when magnification, field of view and light are combined
Visualization in oral surgery depends on three variables that must work together: magnification, field of view and illumination. Adjusting one without considering the others can result in a configuration that is uncomfortable for real procedures.
Magnification allows small structures to be seen in greater detail, but it usually requires greater control of working distance. As magnification increases, the clinician needs to maintain a more stable position to keep the area of interest within the visual field.
The field of view determines how much area is seen at once. In procedures with broad anatomical references, a field that is too narrow may force more head movement or frequent refocusing. By contrast, in localized access points, a more concentrated field may be sufficient if the illumination clearly defines the edges.
Headlight illumination adds contrast and reduces shadows when aligned with the visual axis. This is especially relevant in oral surgery because the working position itself can block external light. By bringing the illumination close to the line of sight, the clinician becomes less dependent on lateral or overhead sources.
However, more light does not replace poorly chosen loupes. A coherent configuration starts with working distance, procedure type and habitual posture. Magnification is then adjusted and, finally, headlight illumination is integrated so that the enlarged field is properly defined.
The guide on surgical lighting and magnification by power explores this relationship between detail, light and visual comfort in greater depth.
More magnification or better illumination: practical differences by procedure
In oral surgery, the question may arise whether to increase magnification or add a headlight. The answer depends on the visual problem being addressed. If the detail is there but cannot be distinguished because of poor contrast, illumination is usually the priority. If the area is well lit but the anatomical detail is still too small, it may make sense to review the magnification.
| Clinical or work situation | Usual priority | Practical reason |
|---|---|---|
| Posterior access with shadows | Better illumination | Ambient light may be blocked and reduce contrast |
| Procedures with fine detail in a stable field | More magnification, if ergonomics allow it | The goal is to distinguish small structures with greater definition |
| Prolonged work with angle changes | Headlight illumination and stable frame | Helps maintain visibility without searching for light by changing posture |
| Wide field with anatomical references | Moderate magnification and good light | Allows orientation to be maintained without narrowing the visual field too much |
| Deep cavities or narrow areas | Light aligned with the visual axis | Reduces shadows within the surgical access |
Prioritizing more magnification can be useful when the field is well illuminated and the clinician needs to discriminate very fine details. However, if magnification reduces the field too much or requires a rigid posture, the visual improvement may come with more cervical or visual strain.
Prioritizing better illumination is advisable when the enlarged image looks dark, flat or shadowed. In those cases, adding headlight illumination can make the available magnification more usable, without needing to switch immediately to higher magnification.
The combination should be chosen by procedure. A surgical extraction, periodontal surgery or implant procedure do not always pose the same visual demands. The key is to identify whether the limit is detail size, contrast, access or posture.
For an overall view of the magnification and illumination ecosystem, the Optimedic Loupes solutions page brings together the main product families.
Frame ergonomics and weight distribution with headlight illumination
When light is added to surgical loupes for oral surgery, ergonomics become even more important. The headlight adds another element to the system and can alter the sense of balance, especially if the procedure requires longer working times.
The frame must provide stability without creating excessive pressure. If the system shifts, the clinician may end up adjusting the head to recover the visual axis. This repeated gesture not only interrupts workflow, it can also increase cervical load or tension around the nasal and temporal areas.
Weight distribution depends on the frame, the type of loupe and the illuminator setup. In some cases, a feeling of front-heavy weight is compensated by a better-fitted frame or a more balanced system layout. That is why the loupe and the light should not be assessed as isolated pieces.
Working distance also plays a role. A configuration that forces the head to tilt in order to focus may be uncomfortable even if the image is sharp. Proper ergonomics aim for the clinician to maintain a natural posture, with the gaze directed at the surgical field without unnecessary neck flexion.
With TTL (through-the-lens) loupes, declination and working distance must be defined precisely. In flip-up systems, adjustability can be useful for certain profiles, although the stability of the assembly must be checked. In both cases, the headlight should align with the actual line of sight, not just with a theoretical position.
The prior review of LED surgical loupes can help you understand the basic elements of a combined setup.
Steps to choose a coherent configuration of loupes, frame and illumination
Choosing a configuration of surgical loupes for oral surgery requires structuring the decision. Starting with the illuminator, the frame or the magnification without a shared criterion can lead to poorly balanced combinations.
1. Define the main procedures
The first step is to identify which procedures the system will be used for most of the time. It is not the same to prioritize posterior oral surgery, periodontal microsurgery, implantology or check-ups with magnification support.
Each scenario determines the level of detail, the field size required and the frequency of angle changes. This information helps avoid a configuration that is too specialized for a use case that will actually be mixed.
2. Set the working distance and posture
Working distance should be adapted to height, patient position, chair and the clinician’s working style. If this distance is set incorrectly, the system may force the neck to bend or the head to move forward.
Before choosing magnification, it is worth checking that the reference posture is sustainable. Magnification should support ergonomics, not force it.
3. Choose magnification and field of view
Magnification is selected according to the detail that needs to be seen and the field that should be maintained. Moderate magnification may offer a broader orientation; higher magnification may provide more detail, but requires greater stability and a more controlled field.
The decision should take into account the clinician’s experience with loupes, the type of access and the usual duration of procedures.
4. Assess whether headlight illumination solves the visual problem
Once magnification has been defined, it is necessary to check whether the enlarged image has sufficient contrast. If shadows, dark areas or the need to reposition the head appear, headlight illumination may be the element that completes the system.
The illuminator should be assessed in relation to the visual axis, perceived intensity, weight and practical compatibility with the selected frame. The key is that the light should support the work without destabilizing the assembly.
5. Test the system as a whole
The test should be carried out with the loupe, frame and illumination together. Assessing each component separately may hide balance, pressure or alignment issues.
During the test, it is advisable to simulate real movements: angle changes, direct and indirect vision, entry and exit from the field, and longer periods of use than a simple initial check.
6. Make adjustments before finalizing the choice
Small adjustments in the frame, declination, illuminator position or working distance can significantly change the user experience. Before making a decision, it is advisable to review the system with technical guidance.
If the main goal is to improve light in oral surgery, specific guidance can be requested through the headlight contact form.
Quick checklist before adding headlight illumination
Before incorporating a headlight, it is worth checking these points:
- The enlarged image loses contrast in deep or posterior areas.
- Ambient light creates shadows along the working axis.
- The clinician changes posture to seek better visibility.
- The procedure requires frequent changes in viewing angle.
- The frame supports the system without shifting.
- The working distance allows a stable posture.
- The chosen magnification does not reduce the field more than necessary.
- The light aligns with the actual gaze during the procedure.
If several answers are yes, headlight illumination should not be considered a secondary accessory, but part of the visual configuration.
Frequently asked questions
When is it advisable to use surgical loupes for oral surgery with headlight illumination?
It is advisable to consider it when magnification provides an enlarged image but with shadows, low contrast or difficulty seeing in deep access areas. It is also useful if the clinician changes posture to seek light or frequently works in posterior areas where ambient light does not coincide with the visual axis.
Is it better to increase magnification or add headlight illumination?
It depends on the problem. If the field is well illuminated but the detail is still insufficient, magnification may be reviewed. If the detail is there but lost due to shadows or lack of contrast, it is usually more coherent to improve illumination before increasing magnification.
Does headlight illumination change the ergonomics of the loupes?
Yes, it can change the feeling of weight and balance of the system. That is why the loupe, frame and illuminator should be evaluated as one system. A stable, well-adjusted frame with proper weight distribution helps maintain the visual axis without postural compensation.
What should be tested before choosing a configuration?
Working distance, field of view, magnification, light alignment and frame stability should be tested. The test should simulate real procedural movements, not just check sharpness in a static position.
Next step for configuring loupe and light
Surgical loupes for oral surgery work best when magnification, frame and illumination are chosen as a set. Reviewing habitual procedures and testing the complete configuration makes it possible to make a more coherent decision.
To assess lighting options, consult the headlights for use with loupes or request technical advice via the Optimedic contact form.